Timber Garden Sheds Australia

August 2024
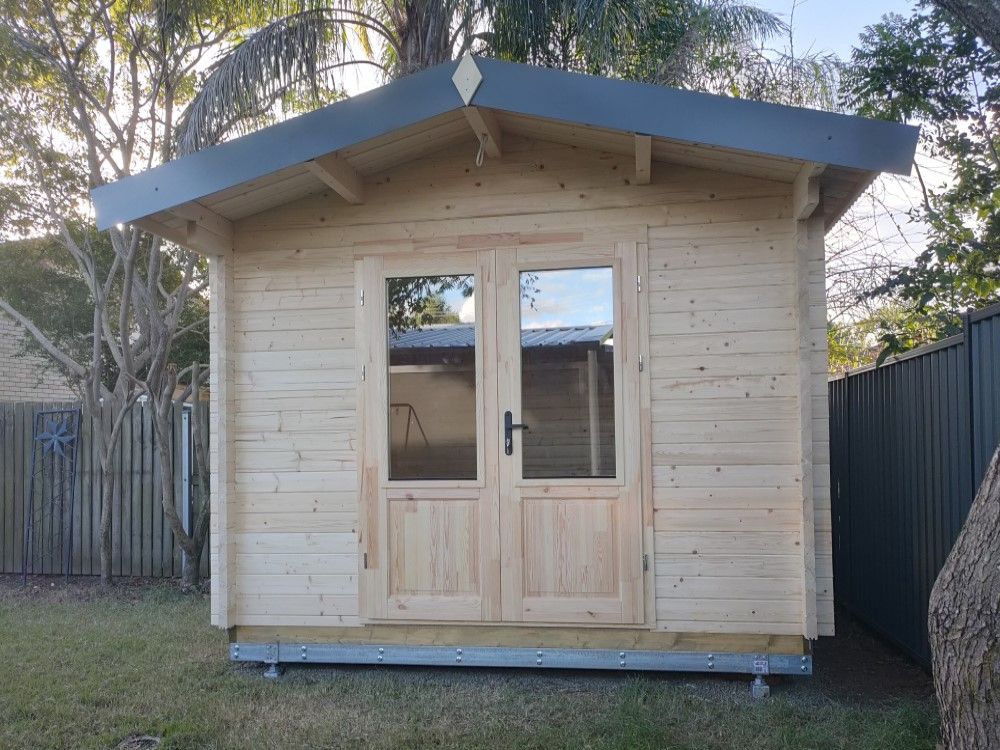
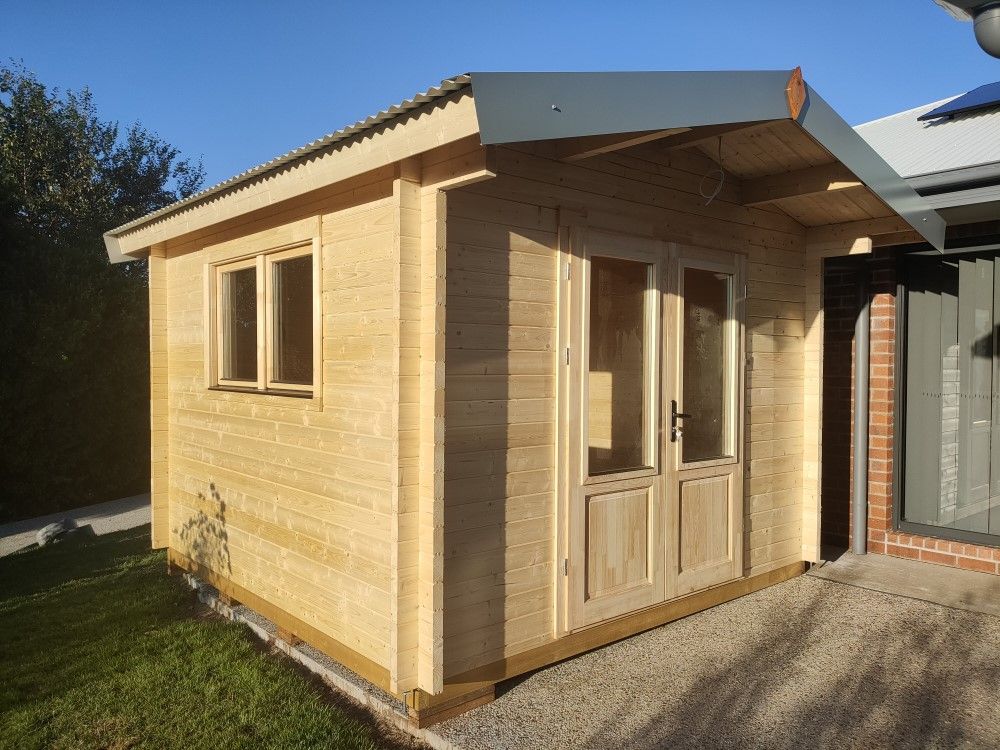
This project is a follow up to a cabin built over this year's Easter weekend. Some time ago we decided to offer 3m roof extensions for our most popular model "SAM10" but when this cabin was built the first lot of these extensions had not arrived in the country yet. A few months later we finally received the first shipment, enabling us to retrospectively fit a deck and veranda to Amanda and Paul's cabin. This blog shows step 1 of this project - installation of the deck.
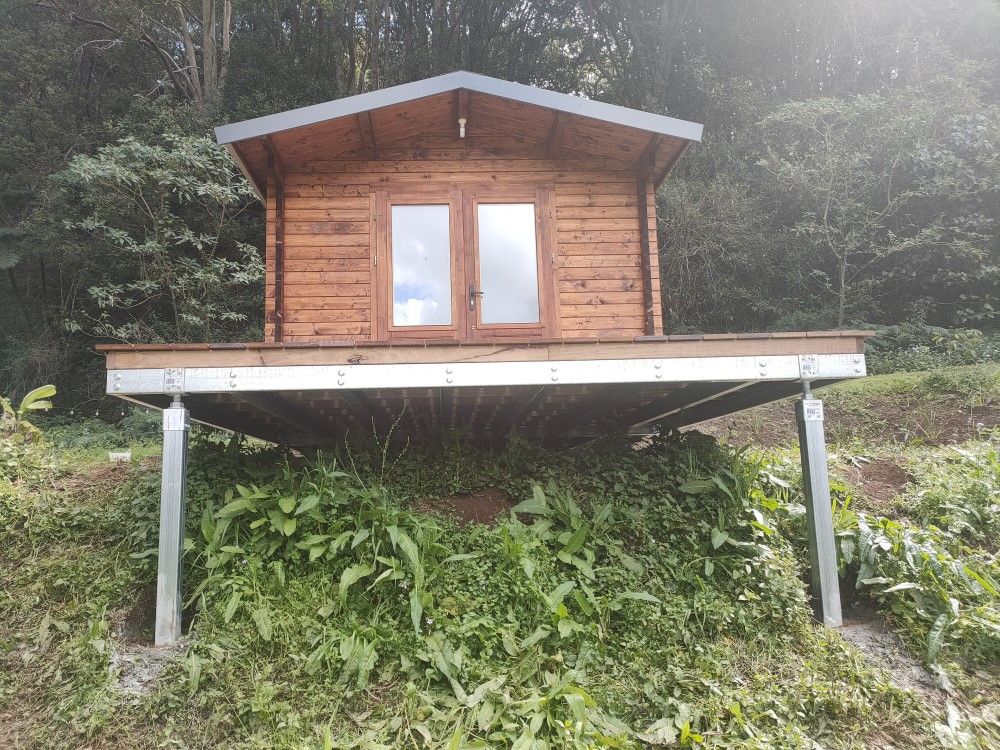
Steel Foundation for the Deck
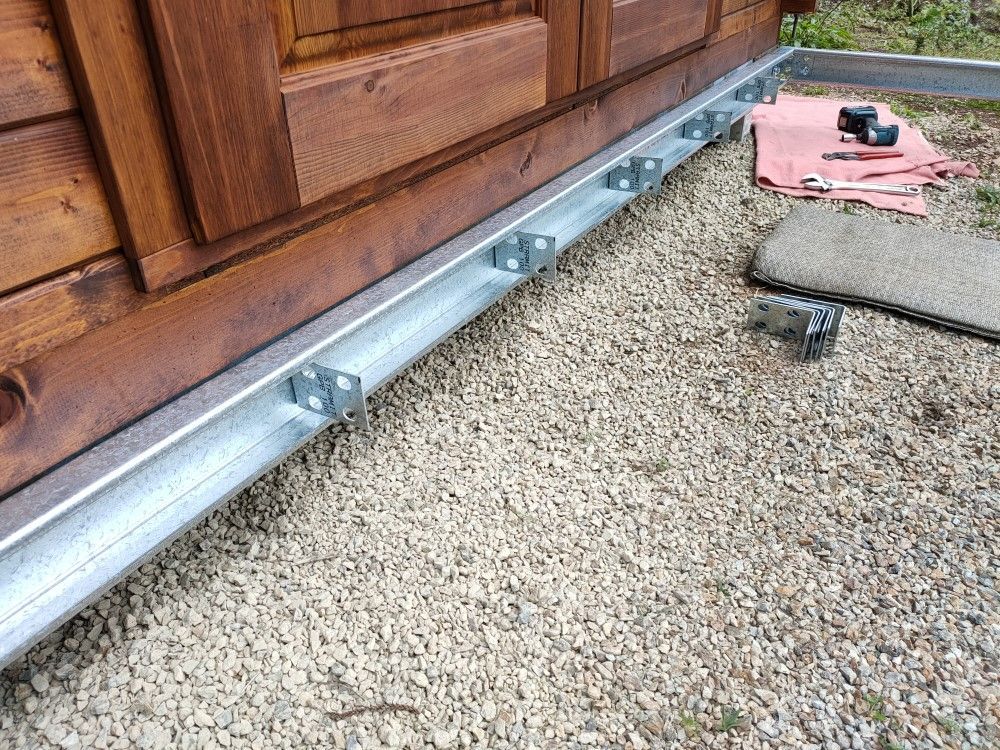
The easiest way to create the foundations for the "SAM10 Extension" deck is to simply attach another base frame to the existing one.
We reversed the orientation of the original cabin front purlin bolts which enabled us to attach another purlin and the angle brackets using the same bolt by securing them with another nut.
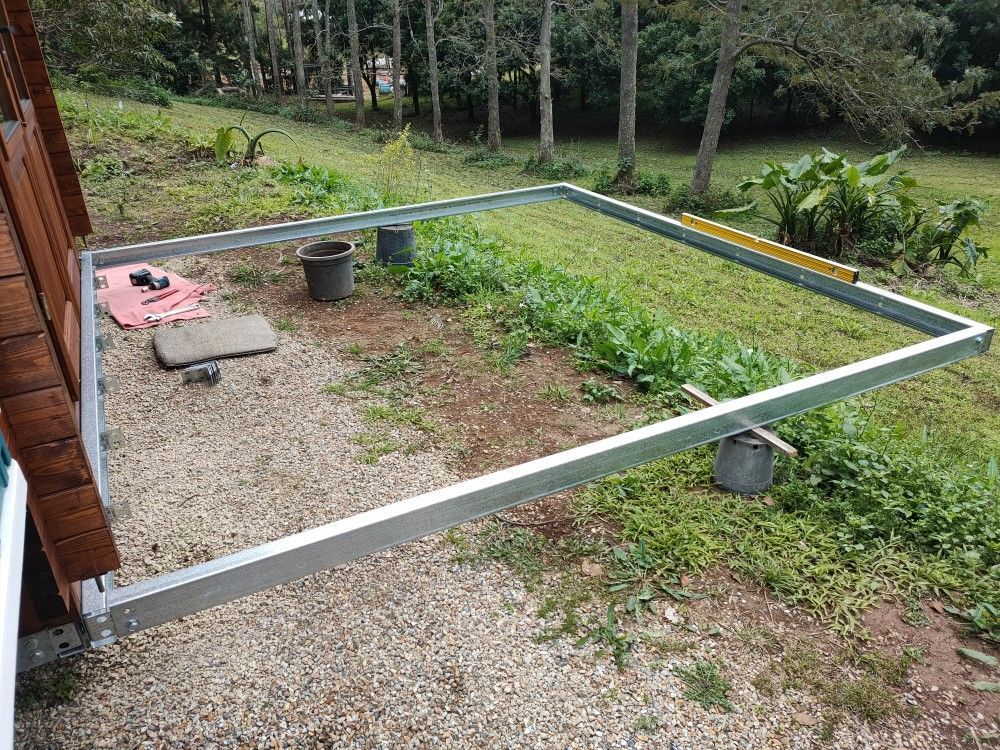
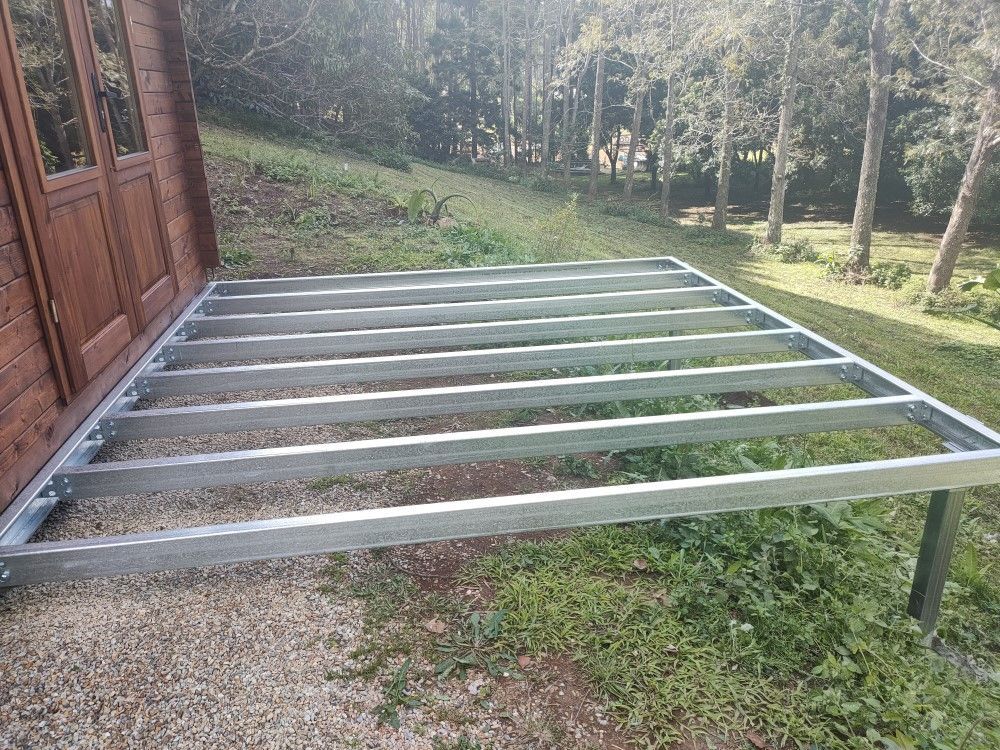
Due to the slope of the site the front of the deck is quite a bit higher than the cabin. We dug deep holes for the stumps, cut gal steel posts to suitable size, placed them into the stump holes and secured them with rapid set concrete. After that the inner cross purlins were added.

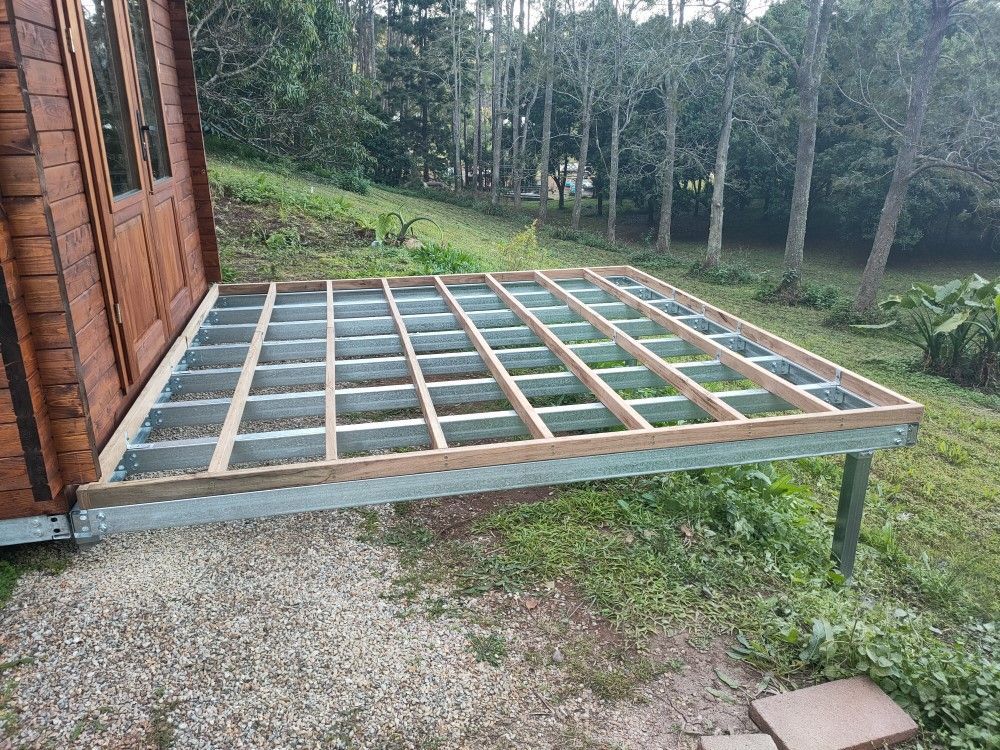

Hardwood Base Frame for the Deck
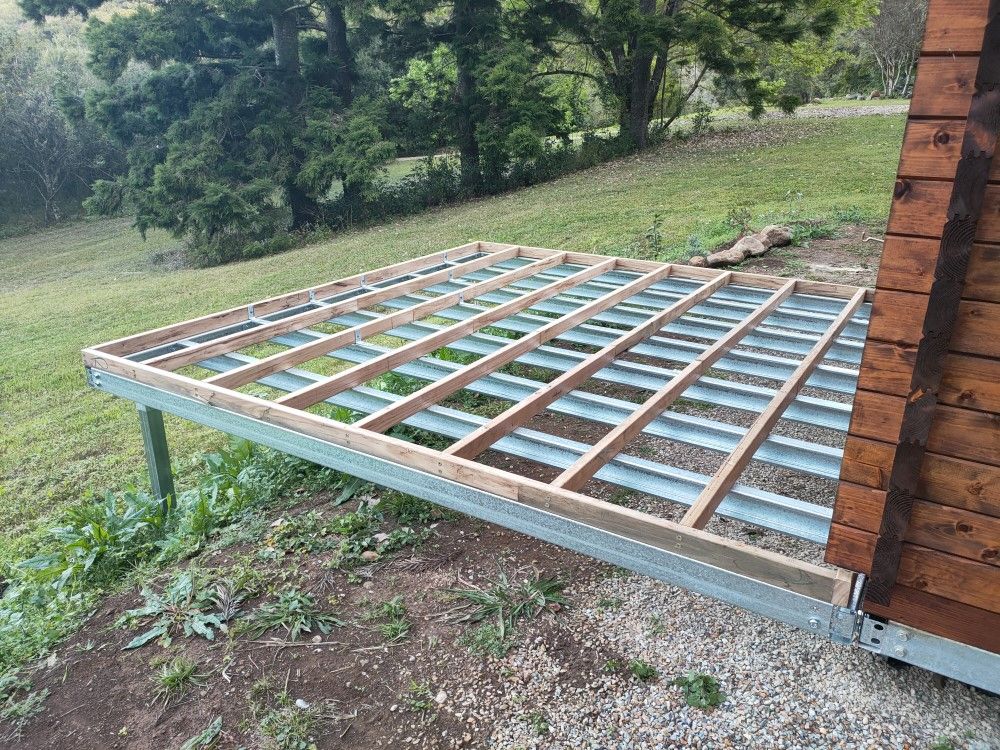
Installing decking boards directly on to steel base frames is possible, however, cross-linking the steel purlins via a treated pine frame is the much better and stronger option.
In this case we actually used 70x35mm hardwood that we were lucky to source at an excellent price. Hardwood is overall stronger and also lasts longer, but is harder on the tools, plus all decking screws needed to be pre-drilled. Yes, it is more work... the things we do!
The hardwood frame was then secured to the steel purlins via angle brackets, allowing for a 5 to 10mm overhang all around to aid with rainwater runoff.
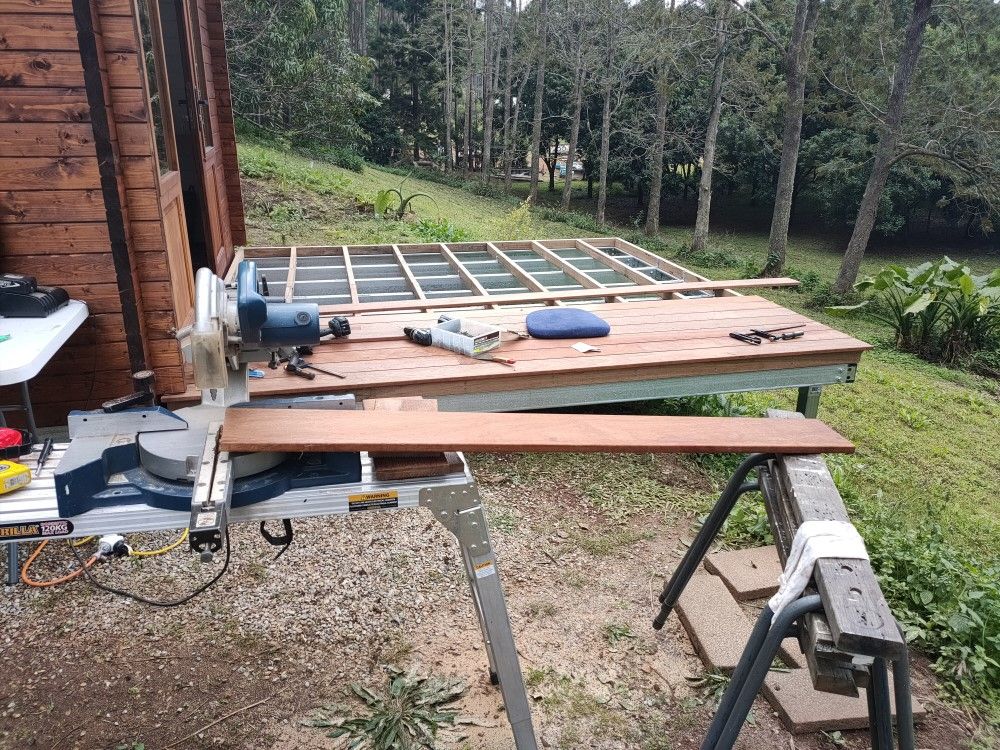
MERBAU Decking
Installing decking timber is always a lot of fun. It completes the deck extension and just looks great!
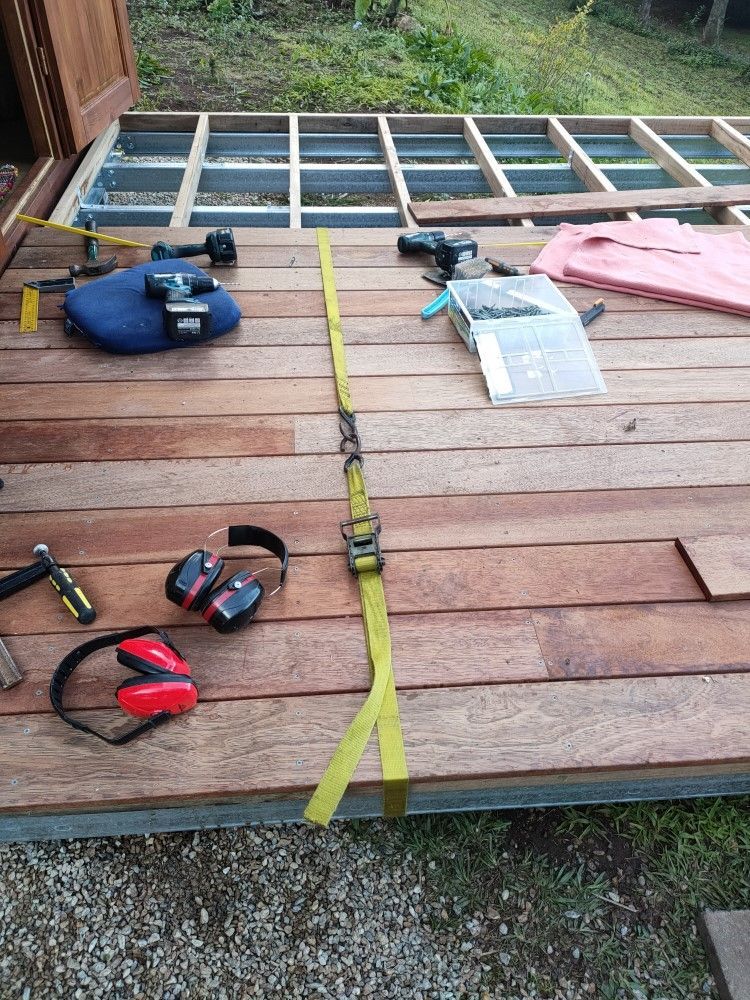
We decided to upload a couple of "messy" photos on the right, showing different stages of this project. Bits and tools everywhere!
You will also spot a yellow ratchet strap - some of the boards we used were slightly bowed, and needed to be pulled straight before screwing them down. The easiest way achieving this is by positioning the board with the centre of the bow pointing away from the previous board, use spacers at either end of the board, and pull the board straight by using a ratchet strap.
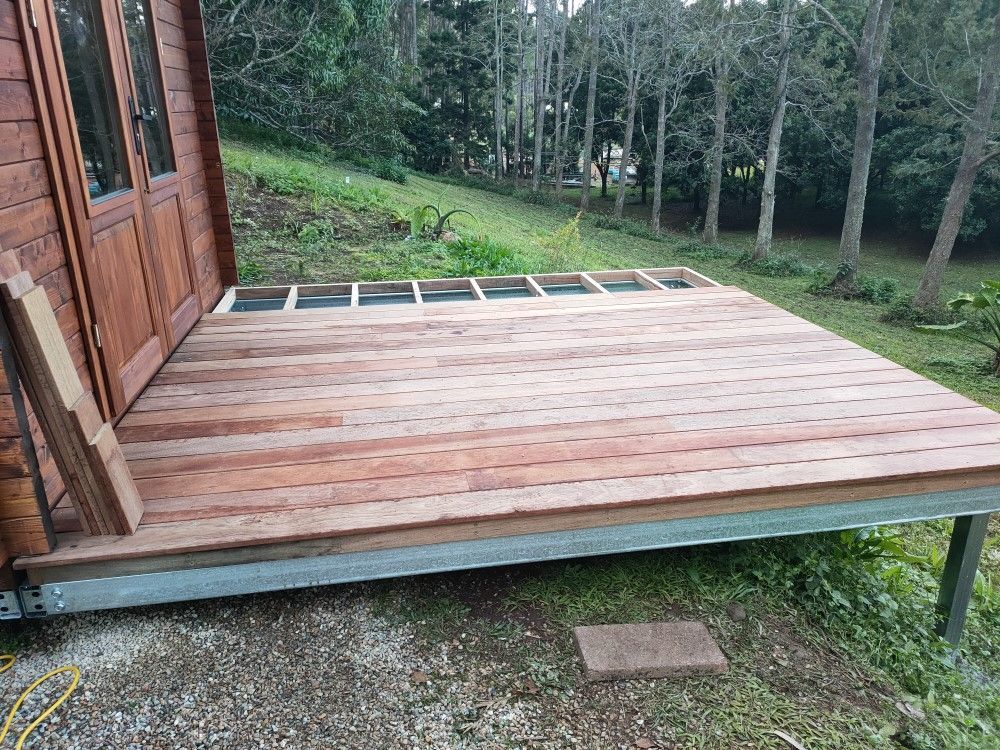
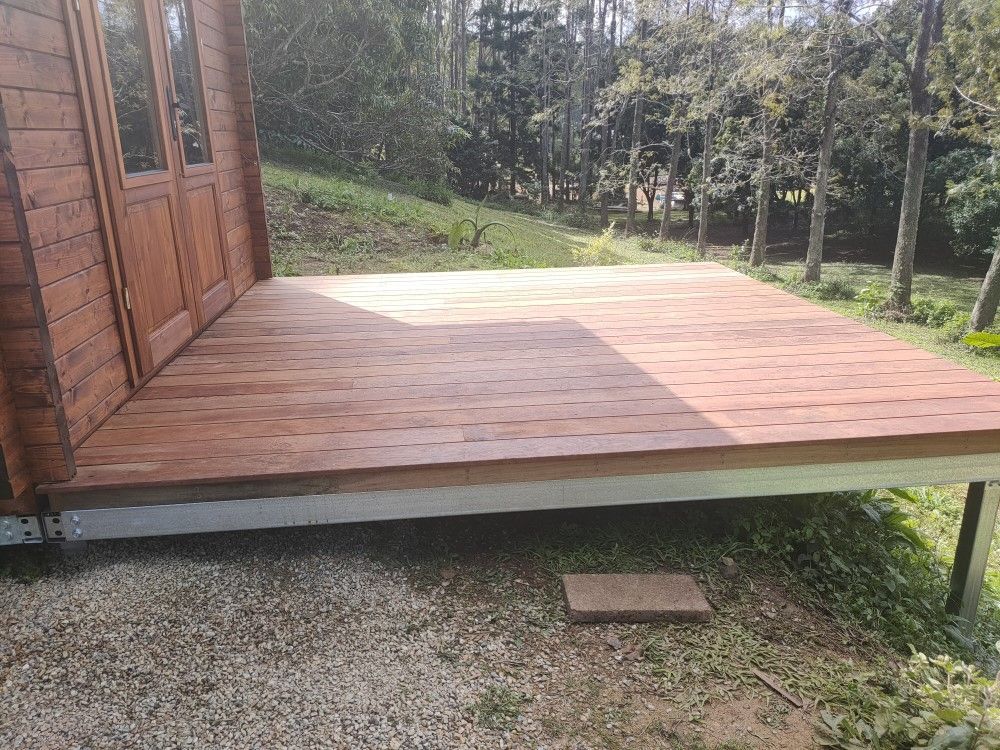
Deck done and dusted!
We managed to finish the decking late afternoon, with rain forecasted the following days. This deck also worked out well in othe respects - Paul gave us decking timber that was left over from another project - and we had JUST enough lengths to complete the deck! Plus the spacing of the decking boards worked out perfectly (well, we measured before of course!!) so that the first and last decking board had the same overhang on the left and the right.
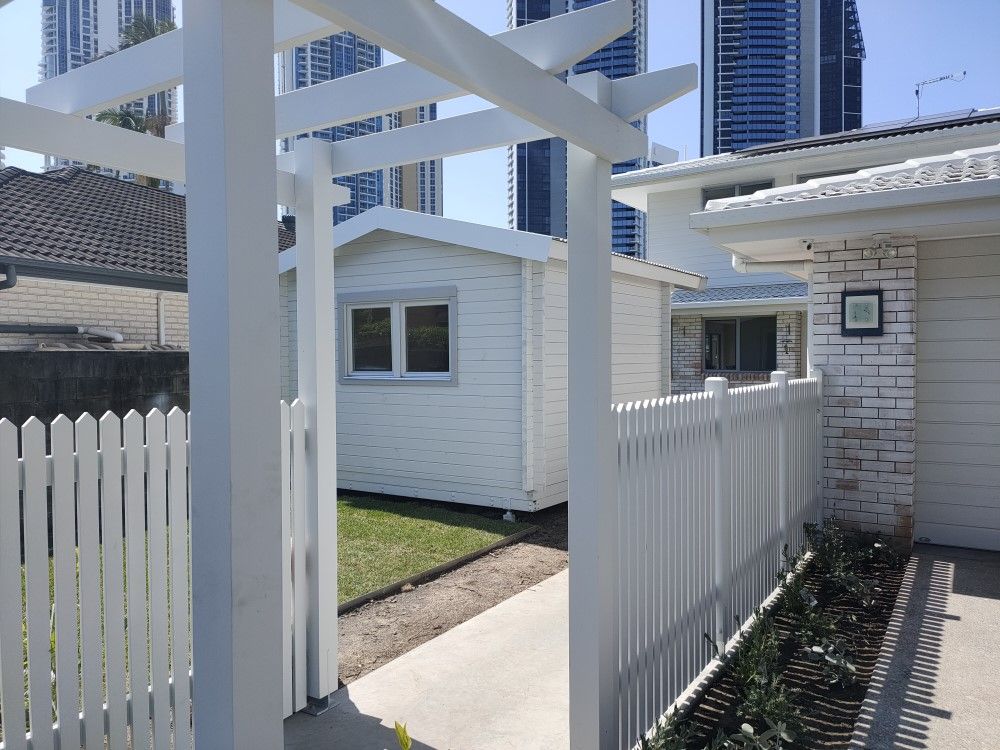
As mentioned, this blog covers the first part of the veranda and deck extension. We will soon start on the second part, extending the front roof to create a pergola roof over the decking we just installed.
LIKE IT? SHARE IT!


TIMBER GARDEN SHEDS AUSTRALIA
WE LOVE TIMBER SHEDS!
© All rights reserved - Design by Your Local Agency