News, Stories, Ideas & More
Timber Garden Sheds Australia
September 2024
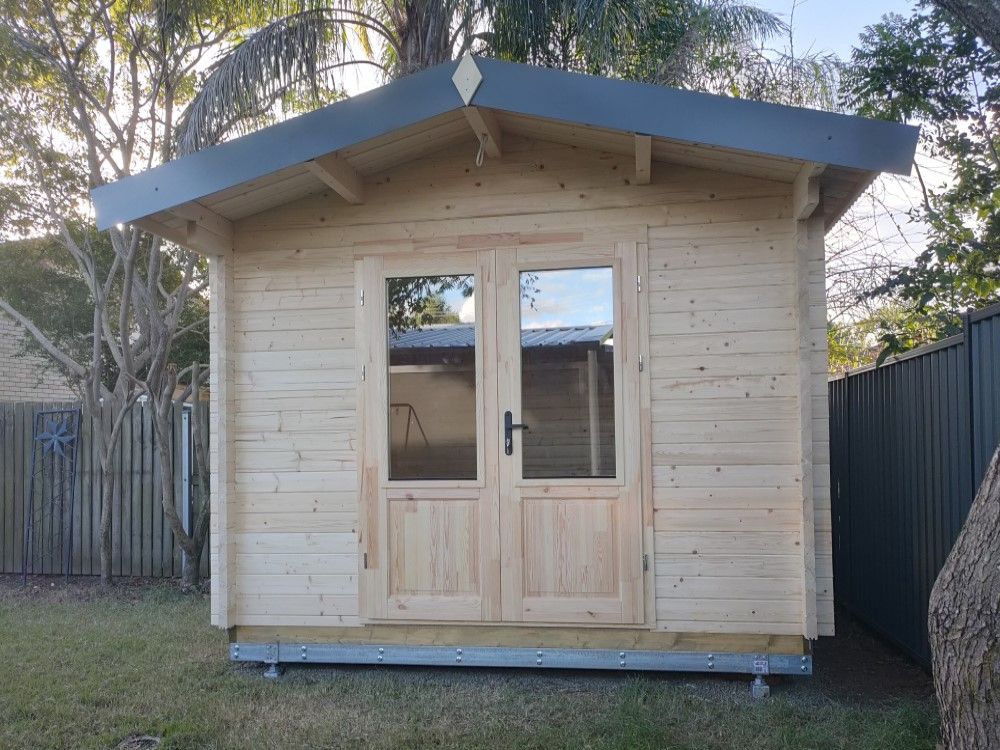
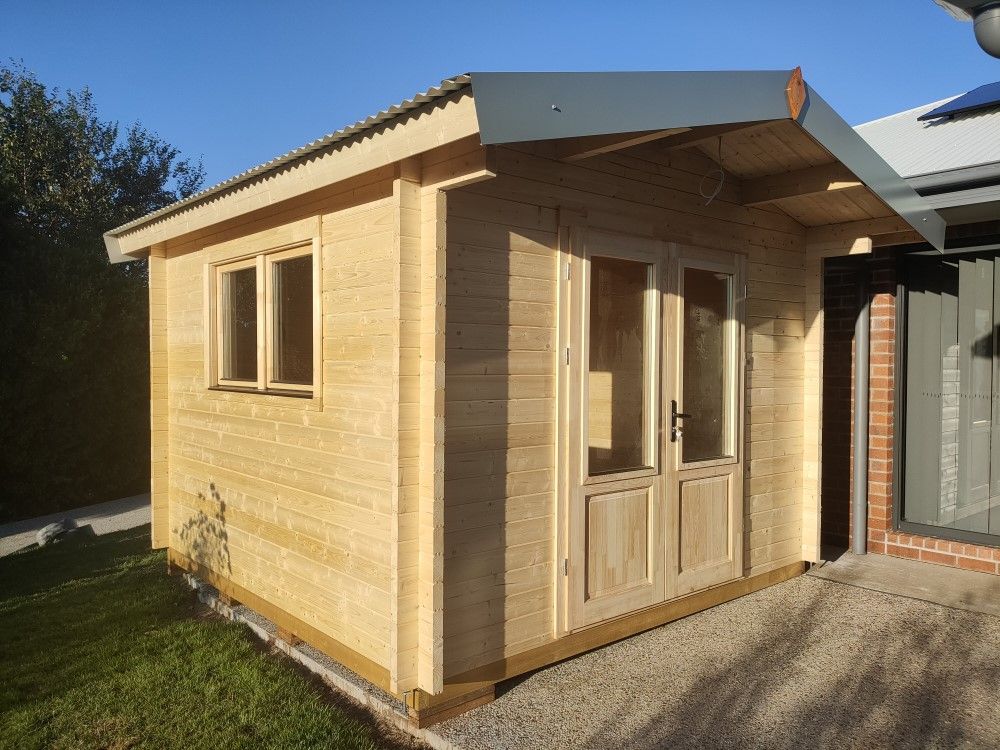
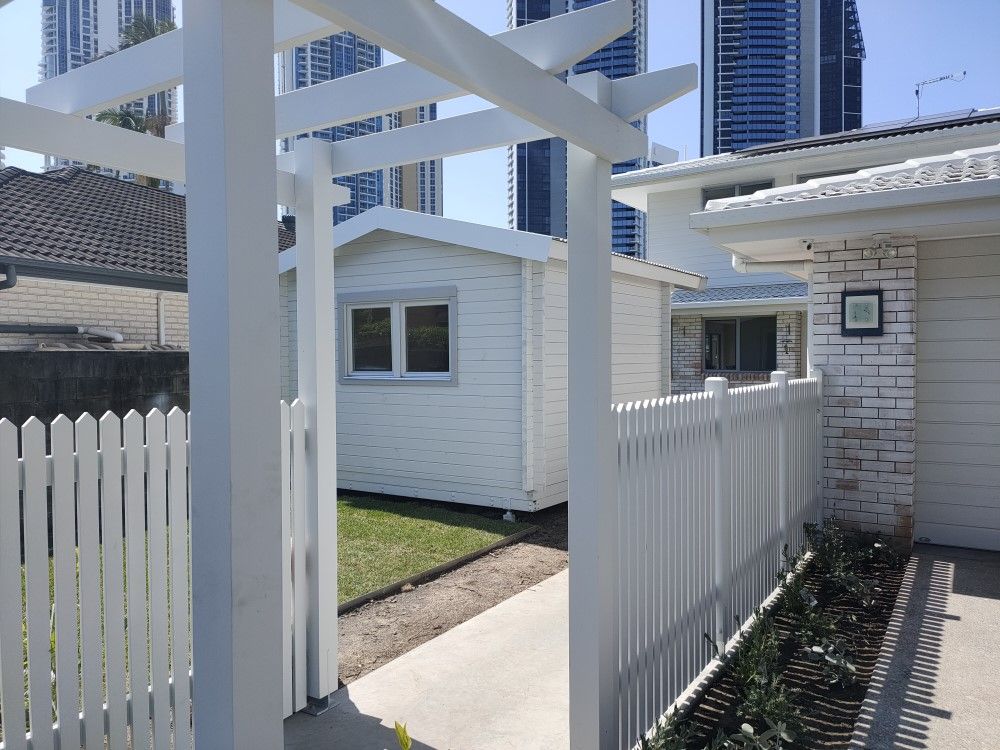
This build again shows that our 10sqm garden shed timber log cabin "SAM10" fits in the smallest of spaces! The site is on Chevron Island, Surfer's Paradise, right on the canal facing East. After purchasing their property the owners Ann and Chris renovated their new house and were in the need for a garden shed. A tin shed was out of the question, it just did not fit in with their beautiful new home. After cedar sheds were discarded due to their inherent structural weaknesses our SAM10 solid timber log cabin was the obvious choice.
Preparations - Materials Delivery
It is often underestimated how much preparation goes into a log cabin build. Besides importing cabins from the Baltic States of Europe many months in advance, there are then upfront investment costs in infrastructure such as a warehouse, forklift and vehicles. And once that has been covered and a cabin is sold, we organise the delivery of the cabin using mostly our own vehicles, as well as locally sourced materials (cheaper then getting these with the cabin from Europe!) such as roofing, foundations, particle board flooring and other associated hardware.
The images on the right are not "pretty" - we are not into slick advertising showing ladies sipping latte's in front of their fully landscaped cabins - we are "down-to-earth", supplying and building the best looking log cabins at the best possible prices.
Start of Build
Proper foundations are a critical part of the cabin build. For the gal steel posts we only use adjustable "LevelMaster" stump top connectors, which feature a ball bearing mechanism, making the adjustment a breeze using a 375mm shifter spanner. Just a few turns either way increases or reduces the height of the steel base by a few millimeters.
The treated pine base frame that comes with your cabin is attached to the steel frame via a number of gal steel brackets, using a variety of different fasteners. After that we place the first row of logs, drill electrical holes through the base frame (they are already pre-drilled by our factory through the centre of the wall logs) and install the particle board flooring "TERMIFLOOR".
THE BUILD
It is always a good idea to install the floor boards before the walls are constructed. The floor boards create a solid and secure flat area, ideal for placing ladders and working higher up later in the build.
We always run the electrical leads for the lighting only, as this is close to impossible for the sparky to do after the roofing has been installed. One light for the porch overhang above the door, and one inside (but two can be run on request).
The centre image on the right shows the rear wall of this cabin - to provide sufficient space for the internal head unit of the air-con we moved the window one log down.
The Surfer's Paradise high-rise buildings skyline can be seen in the background. Temperatures during the build were well above 30 degrees - the first hot spell of the pending start of spring.
The Roof is on!
Well - most of it anyway.
Once the insulation and roof sheets are installed the cabin is close to being waterproof. Our crew worked hard all day in up to 35 degrees heat, so the installation of timber eave boards and metal roofing barge and ridge capping had to wait a couple of days.
We went back to site two days later, installing all missing bits - especially the metal barge and ridge capping is needed to make the cabin fully waterproof.
The glass areas of the window and the doors are already taped up ready for spray painting. We will soon again be on site, installing a floating timber floor, which we offer as an extra.
Floating Timber Floor
We don't normally get involved with floor finishing, but can help with this on request. When installing cabins it makes a lot of sense for us to do the lot - as we are already on site with all tools etc. We can either supply flooring we sourced, or we can install flooring you bought, the choice is yours.
For Ann we installed KRONOTEX floating timber click flooring in a very light finish. Looks great and lasts many years.
Ann is using her SAM10 shed as a restoration workshop for small furniture pieces. She built the work bench herself, complete with pegboard back to hang all her tools etc. Well done we think!!!!
TIMBER GARDEN SHEDS AUSTRALIA
WE LOVE TIMBER SHEDS!
© All rights reserved - Design by Your Local Agency
